Subtitles are an important feature for videos, allowing viewers to understand any spoken parts in a video. This can help your video and YouTube channel become more accessible to those with hearing difficulties, as well as just make it all-around easier for people to get what’s going on.
RELATED: How to switch back to old Gmail if you hate the new look
Sometimes parts of the audio can be unclear, and having subtitles can help with this immensely. YouTube does provide the option for viewers to see auto-captions, or automatic subtitles generated by YouTube, but these tend to be inaccurate. Lastly, subtitles can be used to add various language translations to your video, making it accessible to a global audience.
Table of Contents
- Upload a Subtitle File
- Type Subtitles on YouTube
- Create Subtitles For Better YouTube Videos
On YouTube, you have the ability to add subtitles to videos. You can add them in a few different ways, whether it’s typing up subtitles in a separate document or directly into YouTube. You can add these subtitles on YouTube in YouTube Studio, so you don’t need to worry about editing them yourself during video editing if you don’t want to. In this article, we’ll give you a tutorial on how to add YouTube subtitles right on the site quickly and easily.
Upload a Subtitle File
If you want to add subtitles to your YouTube video, one option is to create a file with the subtitles typed up. Once you do this, you can then upload it to your YouTube video. Keep in mind there are also options to type them in on YouTube while you watch the video, so if you don’t want to type up captions this way or don’t have experience doing so, you can skip this step.
You can upload a document either with timing or without timing. This means that either the document will match up to timestamps or not, which dictates what file type you can upload.
Basic subtitles can be uploaded with these caption file types:
- .srt
- .sbv or .sub
- .mpsub
- .lrc
- .cap
If you have more advanced subtitles to control placement or timecodes, these are the file types that should be uploaded:
- .smi
- .rt
- .vtt
- .ttml
If you upload a video without timing, you can only upload .txt files. YouTube will automatically time your captions to match up with the audio.
Once you have your subtitles typed, you can upload them to YouTube on your YouTube account by following these steps:
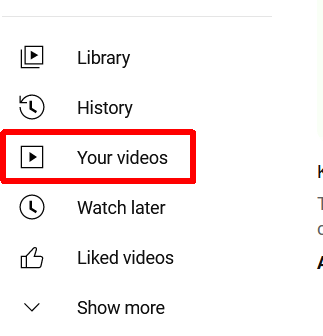
1. On YouTube’s main page, go to Your Videos on the sidebar.
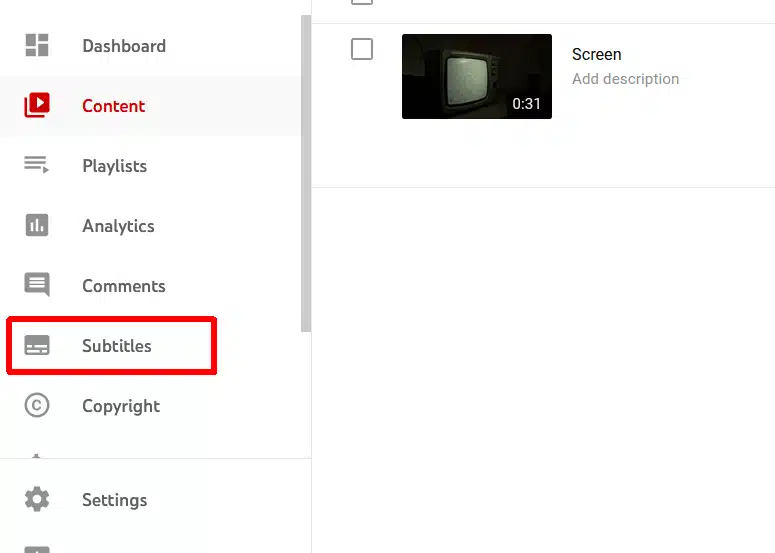
2. In YouTube Studio, click on the Subtitles option in the sidebar.
3. Select the video you want to add your subtitles to.
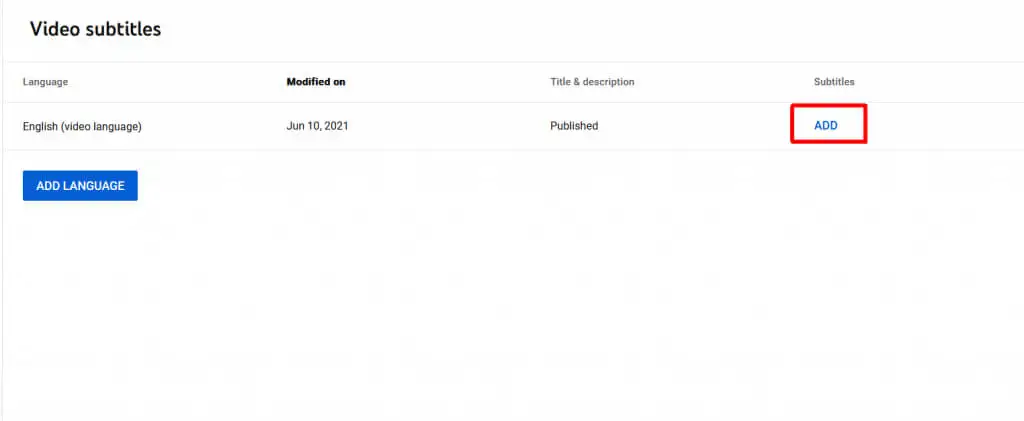
4. If you haven’t, select a language for the video. Then, click on the blue Add button under Subtitles.
5. Select Upload File.
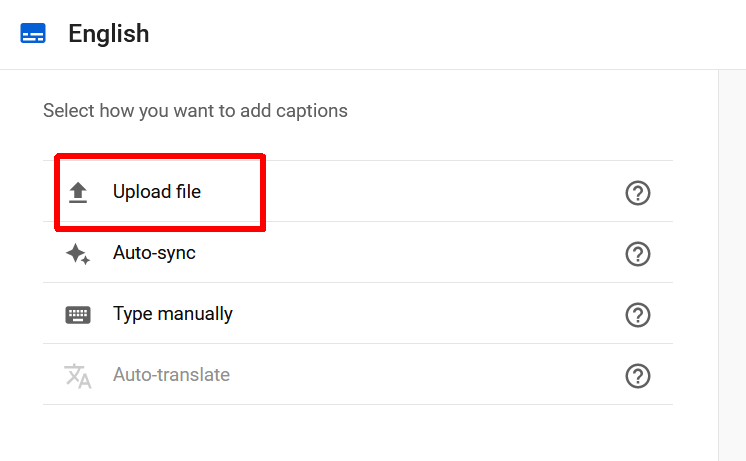
6. Choose the With Timing or Without Timing option depending on what type of subtitle file you created.
7. Find your subtitle file and select it and hit Open.
8. The subtitles will display alongside your video. You can play the video to ensure they are timed and typed correctly.
If you don’t want to type up a separate subtitle file, you can also add them directly on YouTube using the subtitle editor.
Type Subtitles on YouTube
The subtitle editor allows you to type your subtitles as you watch your video. This is a very simple option and can help give you a lot of control over how your subtitles appear, especially if you don’t have much experience with adding subtitles. Follow these steps to add subtitles this way.
1. On the YouTube Studio page, go to Subtitles, and select the video you want subtitles on.
2. Select the Add button, then select Type Manually.
3. A text box will open up where you can add text. Besides the captions, you can set the timecodes for each one, which is formatted as seconds: frames.
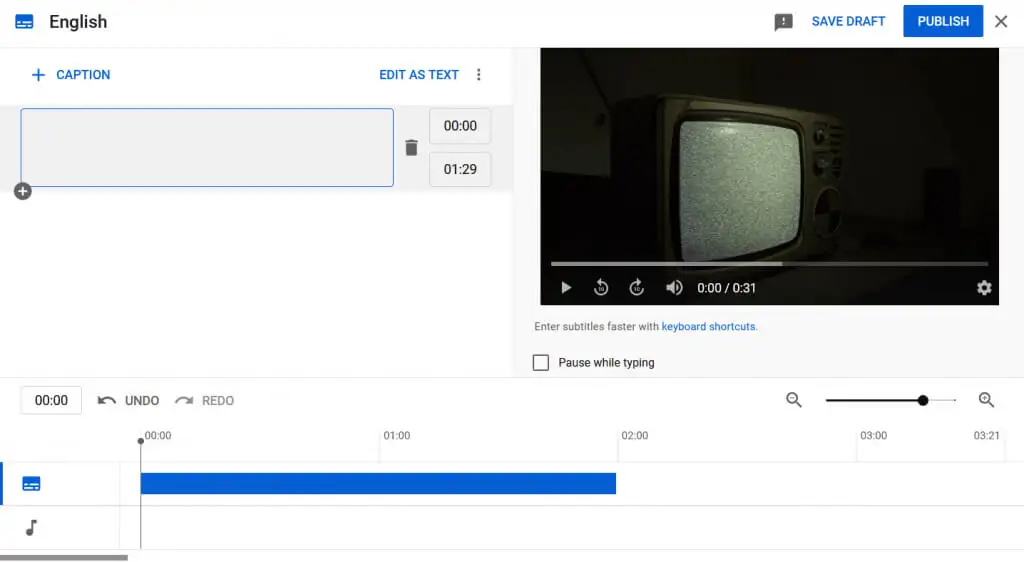
4. You can also play the video as you type, and check off the Pause while typing option if you wish.
5. To add new captions, you can select the Add caption button at the top.
6. Once done, select Publish to upload your subtitles to your video.
The subtitles will then be added to your YouTube video. You can come back and change them if needed.
If you don’t want to edit the timings of the subtitles, you can also select Auto-sync at the beginning to have YouTube sync up your captions automatically.
Create Subtitles For Better YouTube Videos
It’s never a bad idea to have subtitles on your YouTube videos. Not only will you be allowing those who are hard of hearing a way to watch your content, but you will also be sure that anybody who wants subtitles on your videos will have them. Since YouTube has made it so easy to add them, it’s another simple way to make your videos that much better and more accessible.