

If you’re transferring pictures from your Android smartphone to an iPhone, the process is relatively straightforward. Again, if you only want to move a couple of pictures, then email or text may be the way to go. But if you want to transfer an album or two, or even your entire library, you’ll want to keep reading for instructions.
RELATED: Gmail login different user – How to login to Gmail with a different Account
How to transfer photos from Android to iPhone
Similarly to transferring your entire library from an Android to an iPhone, you can transfer your whole library from iPhone to Android — all without plugging into a computer — thanks to Google Photos or other cloud-based photo-sharing apps. To transfer your entire photo library:
- Download Google Photos from the Play Store.
- Open Google Photos and sign in to your Google account.
- Tap Get Started.
- Tap OK when asked to allow Google Photos to access your photos.
- Tap Continue.
- Select High quality and then tap Continue.
- Tap No thanks to finish the setup and start uploading your pictures.
- While your library is uploading, download Google Photos on your Android.
- On your Iphone, open Google Photos.
- Sign in to your Google account.
- Choose High quality and then tap Confirm.
- Wait for your photos and videos to download.
Transferring your photos from Android to iPhone doesn’t have to be a long and tedious process; it all depends on how many pictures you want to copy over.
Of course, if you only want to transfer a handful of photos, you can always email or text them to yourself, but we wouldn’t recommend doing this for more than about ten pictures. To transfer more photos than that, you’ll need to use a computer or a cloud service as the go-between for both phones.
How to transfer photos from Android to iPhone
If you don’t want to transfer your entire photo library from an Android to your iPhone, you can use the app Send Anywhere to quickly transfer select pictures. If two phones are in the same room, you can use the app to move the photos wirelessly from one phone to the other.
RELATED: How to create a group email in Gmail
Once you have to Send Anywhere downloaded from the Google Play Store and the App Store, you can start transferring your pics:
- Open the Send Anywhere app on both phones.
- On your Android, tap Send at the bottom and select the pictures you want to transfer.
- Tap Send.
- On your iPhone, tap Receive at the bottom.
- Either type in the 6-digit code on your Android’s screen or scan the QR-code.
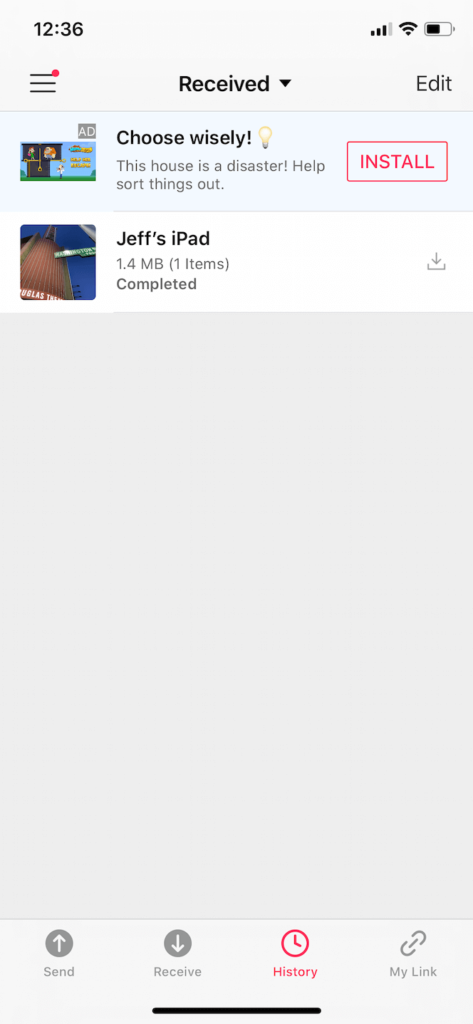
When you get to Step 3, you also have the option to send your pictures using a link if your phones aren’t close to each other or the wireless transfer isn’t working for some reason.
How to transfer photos from Android to iPhone
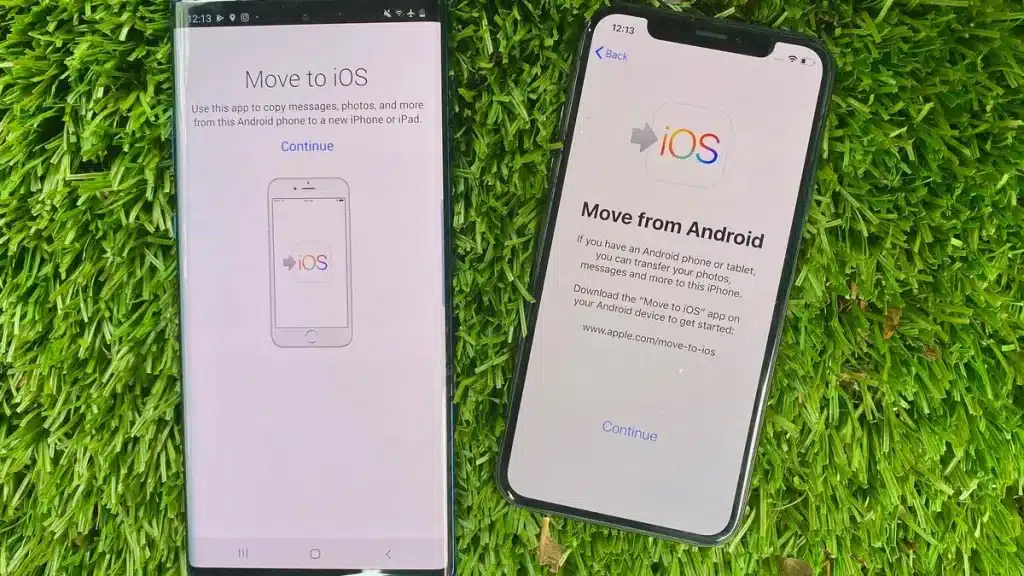
Manually selecting each photo won’t really work if you’re upgrading from an Android to an iPhone and want your entire photo library to come over with you. Thankfully, if you were using a cloud service like Google Photos to back up your photo library, it’s easy to transfer to your new iPhone.
RELATED: How to avoid the friend zone with a girl or guy in 10 ways
Even if you weren’t already using Google Photos, you can still download it to your Android from the Google Play Store and quickly set it up to start transferring all of your photos. To transfer your photo library using Google Photos:
- Open Google Photos on your Android.
- Sign in with your Google account.
- Tap Backup.
- Choose either High quality or Original.
- Tap Confirm.
- While your Android is uploading the pictures, you can download Google Photos on your iPhone and open it.
- Tap Get started.
- A prompt will appear asking to grant Google Photos access to your photos.
- Tap Continue.
- Tap No thanks to finish the setup, and the photos from your Android will start downloading to your iPhone. Any pictures you’ve taken with your iPhone will start uploading to Google Photos.
How to download WhatsApp for PC (Desktop)
Something to keep in mind during Steps 4 and 10 is that Google offers free unlimited storage using the High-quality setting, which compresses pictures to save them. However, if you choose Original for those steps, photos will be saved at full-quality and will count toward your Google One storage limit.
After you move your photos to iPhone
When you’re setting up your new iPhone, it’s a good time to start fresh, especially when it comes to your photo library. It’s surprising how quickly your library can fill up with duplicate photos, similar-looking images, or even unnecessary screenshots.
Thankfully, the iOS app Gemini Photos can help you quickly clean up your library, so you’re not wasting any storage space on your new iPhone. To start cleaning up your photo library:
- On your iPhone, download Gemini Photos from the App Store.
- Open it and let it scan your photo library.
- Tap a category like Duplicates.
- Tap a group of photos.
- Select the pictures you want to delete.
- After you’ve gone through all of them, tap Delete Duplicates.
- You can then tap Your Library at the top to go back through the other categories of pictures and videos.
Gemini Photos only scans pictures saved in iCloud or stored on your phone, so if you have pictures and videos in Google Photos, you’ll have to download them to your phone before you can clean up your library and reduce the clutter.
RELATED: How to screenshot on Mac
Whether you’re going from Android to iPhone or iPhone to Android, there are a couple of ways you can get your pictures onto your new device. Whichever method you choose, it’s important to have a bit of patience. It can take some extra time to transfer everything depending on how much you’re trying to move at one time.